Fix Disabled Automatic Updates Issues in WordPress: A Step-by-Step Guide
Automatic updates in WordPress are essential for keeping your website secure and running smoothly. However, certain configurations or custom code can prevent these updates from functioning. One common scenario involves disabling updates through must-use (mu-plugins) plugins, which can create unintended issues. In this post, we’ll explore this problem and provide a clear guide to fixing it.

Understanding the Issue
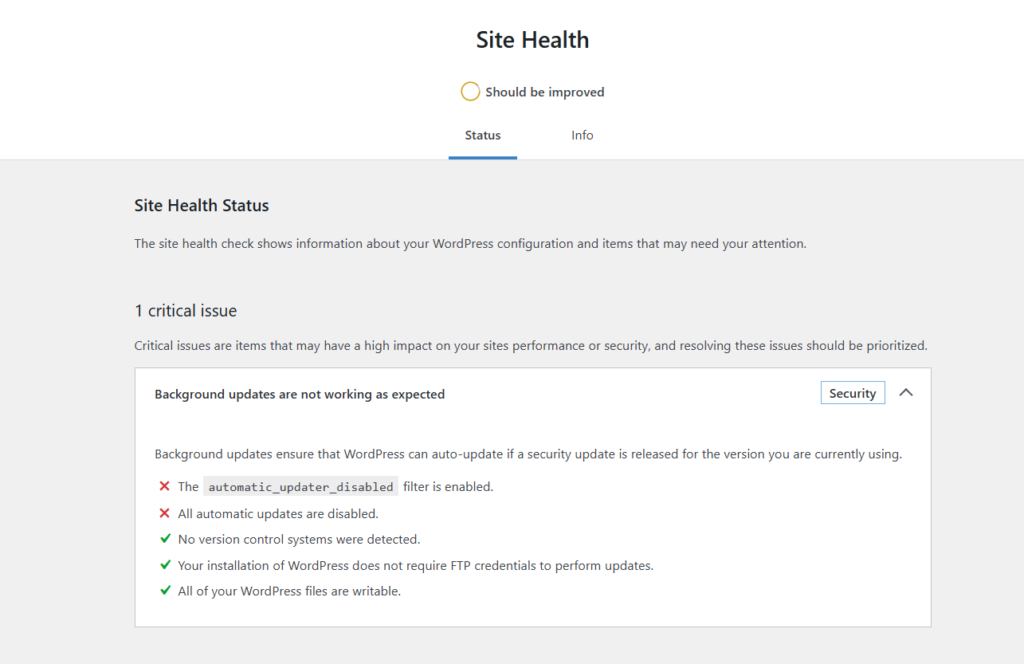
When WordPress displays errors like:
-
- “The WP_AUTO_UPDATE_CORE constant is defined as ‘true’.”
- “The automatic_updater_disabled filter is enabled.”
- “All automatic updates are disabled.”
It typically means there’s a conflict in your WordPress configuration or custom code that blocks automatic updates. A common culprit is a file in the mu-plugins directory specifically designed to disable updates.

The Culprit: A Disabling Plugin
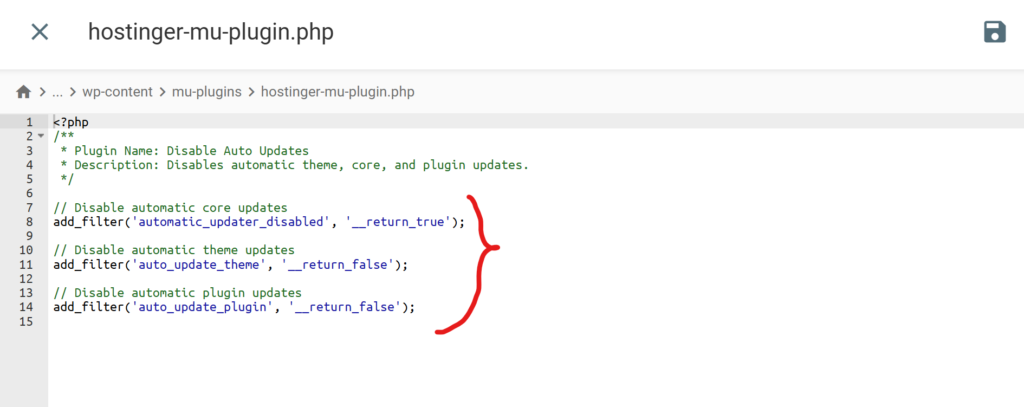
In some cases, a custom plugin in the wp-content/mu-plugins directory might contain code like this:
/**
 * Plugin Name: Disable Auto Updates
 * Description: Disables automatic theme, core, and plugin updates.
 */

// Disable automatic core updates
add_filter('automatic_updater_disabled', '__return_true');

// Disable automatic theme updates
add_filter('auto_update_theme', '__return_false');

// Disable automatic plugin updates
add_filter('auto_update_plugin', '__return_false');
This plugin prevents WordPress from updating itself, its plugins, and themes automatically.

How to Fix It
1. Locate the Plugin
The first step is identifying if a file in mu-plugins is disabling updates:
- Log in to your website’s file manager (via cPanel, FTP, or your hosting provider’s file browser).
- Navigate to
wp-content/mu-plugins/.
- Look for a file with a name like
disable-auto-updates.phpor similar.
2. Remove or Modify the Plugin
Option 1: Remove the File
-
- If you don’t need this plugin, delete it. WordPress will revert to its default update settings.
Option 2: Modify the File
-
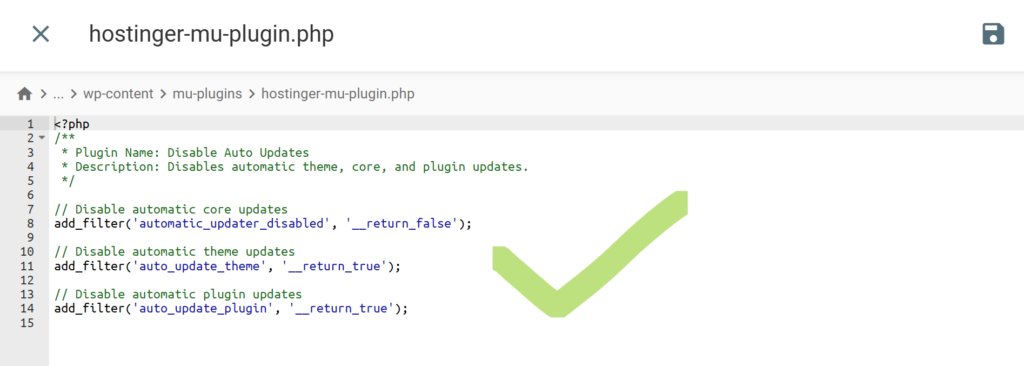
- If you want to retain some functionality, open the file in a text editor and make the following changes:
- Allow Core Updates
Replace This : codeadd_filter('automatic_updater_disabled', '__return_true');
With : codeadd_filter('automatic_updater_disabled', '__return_false');
- Enable Theme Updates
Replace This : codeadd_filter('auto_update_theme', '__return_false');
With : codeadd_filter('auto_update_theme', '__return_true');
- Enable Plugin Updates
Replace : codeadd_filter('auto_update_plugin', '__return_false');
With : codeadd_filter('auto_update_plugin', '__return_true');

Note : Make Sure To Save It Using The Button On The Top-Right Corner.
3. Verify Permissions
Ensure that your WordPress installation has the correct file permissions:
-
- Directories:
755
- Files:
644
These permissions allow WordPress to update files without compromising security.

4. Test Automatic Updates
After making the changes:
- Log in to your WordPress admin dashboard.
- Navigate to Dashboard > Updates.
- Check for any updates and try running them manually.
Preventing Future Issues
-
- Use a Dedicated Plugin for Update Management:
Instead of custom code, consider using a plugin like Easy Updates Manager. It provides granular control over updates without interfering with the core functionality.
- Keep Backups:
Before modifying files, always create a full site backup to avoid accidental data loss.
- Stay Updated:
Regularly check your configuration and remove outdated or unnecessary code.
Conclusion
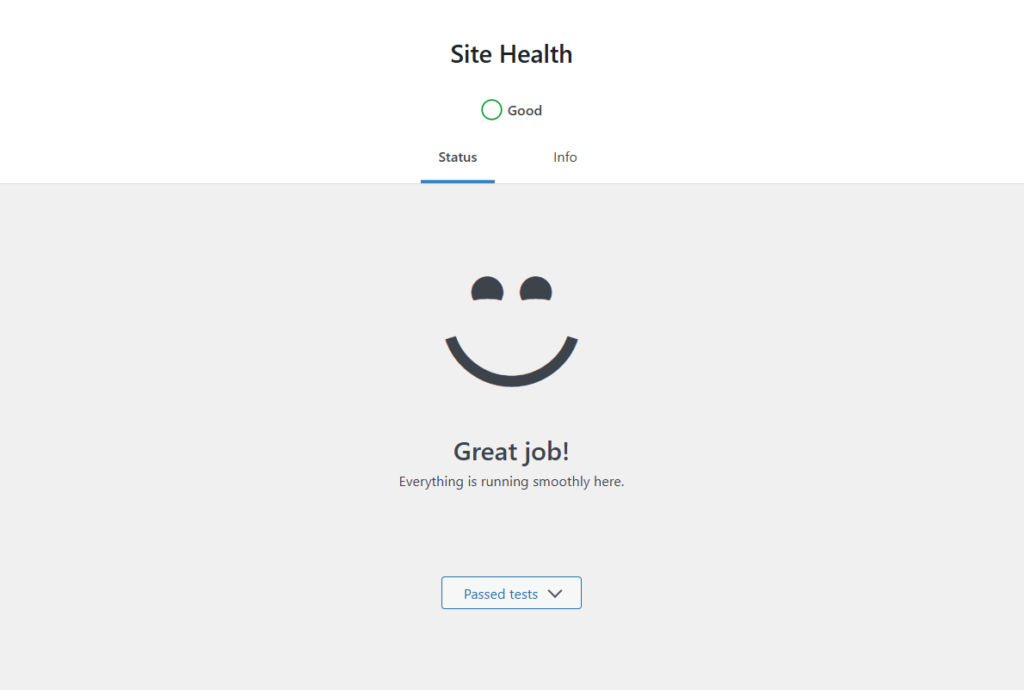
Disabling automatic updates in WordPress might seem like a good idea for control, but it can lead to vulnerabilities if updates are forgotten. By following the steps in this guide, you can re-enable updates and keep your site secure and up to date. If you’re ever unsure about modifying core files, consult a developer or use a managed hosting service.
Need further assistance? Drop your queries in the comments below! 😊


